SSL plays a key role when it comes to your website security and encrypted traffic. There is a high probability that some of your website's features will not work or you won't have any optimal security if your website does not have that lock icon or in other words, you don't have a valid SSL certificate. You cannot use your self-signed SSL Certificates because the web browser will not respect that and it will give a warning of an insecure website to visitors, which you don't want them to see.
In this tutorial, I'll be writing about how you can get Lifetime Free SSL Certificate from Trusted CA (Lets Encrypt) for your self-hosted websites. This process is being done on Ubuntu 20 but with a few changes, It will work on all major Linux distributions.
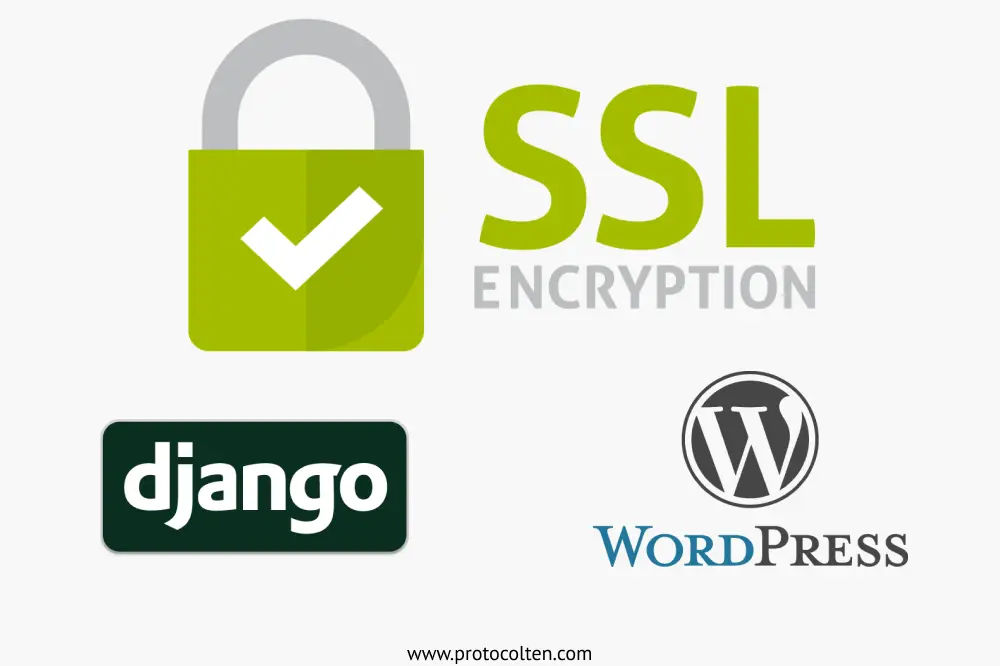
This demonstration will work on Django, WordPress, or your custom HTML/CSS/JS website without any problem.
Installing certbot
To get a valid SSL Certificate, we'll use Certbot which is an open-source software tool. It will generate SSL Certificate and those certificates will be issued by Let's Encrypt which is an open-source Certificate Authority (CA) providing SSL/TLS Certificates for millions of websites.
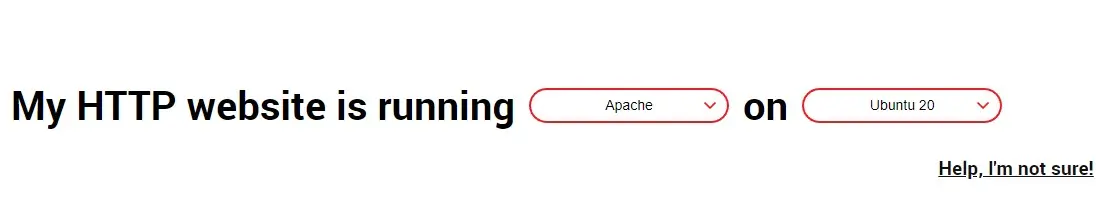
Select your web server and Linux distribution. In my case, it's Apache and Ubuntu 20 but you should choose according to your system.
If you are doing this task on other than ubuntu, then you should follow the process that is described in the certbot documentation to install the required packages and then the certificate.
Certbot for Ubuntu
We require snap package manager which comes pre-installed in every Ubuntu version that comes later 16.04 LTS. For some reason, If your system does not have snap installed, you can install by running these command:
sudo apt -y update && sudo apt -y install snapd
Log out and log in back or restart the system to make sure snap's paths are updated correctly. Now we'll use the snap package manager to install some packages that are essential for this process. For ease of use, we'll create link of certbot from snap's paths to our system's bin paths.
sudo snap install core
$
sudo snap refresh core
$
sudo snap install --classic certbot
$
sudo ln -s /snap/bin/certbot /usr/bin/certbot
Certbot for CentOS
To install certbot on CentOS, use the following commands. There are different methods for CentOS 7 and CentOS 8 to install packages that are required bycertbot.
For CentOS 7:sudo enforce 0
$
sudo yum -y install epel-release snapd mod_ssl
sudo enforce 0
$
sudo dnf install epel-release
$
sudo dnf upgrade
$
sudo yum install snapd mod_ssl
Reboot is necassary. After reboot, run these commands to enable and start snap along with linking for easy use of snap command in terminal.
sudo systemctl enable --now snapd.socket
$
sudo ln -s /var/lib/snapd/snap /snap
Rest of the process to generate and connect SSL certificate is common for all distributions.
Generating free SSL certificate using certbot
If you have followed through with the task to this point without encountering any errors, then you can start the process of generating the SSL Certificate and attaching it to your website. For that, run this command:
sudo certbot --apache
You will be asked to input your email address and some policy consents that you have to agree to. Moving on to the next part, if you have multiple websites running on a single server using virtual host, then certbot will show you a list of all those domains.

- I recommend selecting all domains because it would be better if we have HTTPS enabled for both ServerName and ServerAlias. For that, simply PRESS ENTER without typing anything.
- Now the certificate should be generated and it's path written in the server configuration file. To verify that, simply open the Apache configuration file which can be located at
/etc/apache2/site-available/website.confand you will find something similar to this image:

As you can see, certbot automatically added certificate and key paths to our server configuration file. This certbot package comes with cron jobs that will automatically renew your SSL Certificate unless you changed your server configuration. That's it. You can go to your browser, clear your cache, and check your website. It should have HTTPS enforced and a lock icon that basically tells us that your SSL Certificate is valid.
Getting Free SSL Certificate for Django website
For Django websites, getting SSL Certificate from Let's Encrypt using Certbot is kind of similar but there are some extra tweaks that we have to do to make this work. After you follow through the above process, on Django it will give you WSGI error similar to "Name duplicates previous WSGI daemon definition".
To fix this issue, simply comment out these lines from the server configuration file:#WSGIScriptAlias / /path/to/mysite.com/mysite/wsgi.py
#WSGIDaemonProcess example.com python-home=/path/to/venv python-path=/path/to/mysite.com
#WSGIProcessGroup example.com
sudo certbot --apache
This time certbot will generate keys and put paths of them in the configuration file without any error. Next, we need to uncomment all the WSGI lines from the enabled configuration file. Go to this location /etc/apache2/sites-enabled, open your website configuration
file and uncomment these lines:
WSGIScriptAlias / /path/to/mysite.com/mysite/wsgi.py
WSGIDaemonProcess example.com python-home=/path/to/venv python-path=/path/to/mysite.com
WSGIProcessGroup example.com
Now close and save the file, reload the Apache web server using sudo systemctl reload apache2 command, and your django website will have SSL certificate from now on.
This way you can get Free SSL Certificate from a trusted CA for both WordPress and Django websites. For other conventional HTML/CSS/JS websites, simply follow the first process and you will get your certificate without any issues. Just make sure your website project is live and accessible by public internet because you cannot get SSL Certificate if you are running a local server.
Known Issues
-
For some systems you have to manually enable Apache SSL module. Use
sudo a2enmod sslto enable SSL module. Restart the web server usingsudo systemctl restart apache2. -
If you are using mod_rewrite module to redirect URL,
then might encounter some error if you have not enabled this module. Use
sudo a2enmod rewriteto enable rewrite module. Restart the web server usingsudo systemctl restart apache2.