
In this article, I'll be demonstrating how we can deploy Django website on an Apache web server using mod_wsgi module. This tutorial is tested on Ubuntu 22.04 LTS but with little changes, It can work on other versions too.
Requirements- Ubuntu Server (You can use any variant, I'll recommend minimal because we'll be installing everything from scratch while keeping the system as light as possible. I'm using 22.04 version.)
- Apache
- Python3 or later
- Pip Python package manager
- MySQL Server
Installing required packages
All these packages that we're going to install are absolutely necessary for our project. Make sure to install them correctly. It would be better if our system is updated.
sudo apt -y update
$
sudo apt -y upgrade
Reboot after updating/upgrading system is considered a good idea. Install below listed packages
sudo apt -y install python3-pip apache2 libapache2-mod-wsgi-py3 mysql-server libmysqlclient-dev python3-dev
Creating new project directory
This is the initial phase of any Django project and also the cruicial one. A clean and easy-to-understand Directory structure is always considered as the best practice. Directory location does not matter much in case of Django. You can start project wherever you want. Just make sure you have appropriate permissions on that Directory.
Create a new directory on / and give it any name. I'll give it name django and then move inside that directory. I'll be running commands as root because the project directory is in / but you can make a directory anywhere, just make sure that the user must have rw permissions.
mkdir /django && cd /django
Now we can start our project here directly if we want to. But we will classify the project in a way that it'll be easy for us to distinguish between public files and private script files. We will create two directories with the name src and files.
mkdir src files
src directory is where we will define all our script files.
This is private directory. files directory will contain our
public content and log files. Don't worry, log files won't be served publicily. Move into /django/files and create these two directories names public and logs using the below command:
mkdir public logs
Now create directories two more sub-directories named static and media inside public directory.
cd public && mkdir static media
What we did here is we created a directory tree or structure inside our django project directory.
- src will contain our script files.
- logs will be used to save all log files of application.
- public will be used to serve any static content, which consists of CSS/JS files or image files such as logo & favicon.
This way, we can keep track of our project and classify it accordingly because now we know where certain file should be defined.
Creating Virtual environment and installing pip packages
To create virtual environment, we need to install virtualenv pip package and then activate that virtual environment. But first make sure our pip is upgraded to the latest version available. Move into project root directory, and use the below command:
cd /django
$
pip3 install --upgrade pip
$
pip3 install virtualenv
$
virtualenv venv -p python3
$
source venv/bin/activate
We created virtual environment named venv. Sometimes the system have more that one python version installed. Here we explicitly specify python3 in virtualenv venv -p pyhton3 to create virtual environment using python version 3.
In order to use the virtual environment, we need to activate it first. Last command source venv/bin/activate is used to activate the virtual environment.
Now we need to install Django and some other required packages in this virtual environment. Use below command:pip install django mysqlclient
Along with django, we are also installing mysqlclient pip package, which will be used by django to connect to MySQL database.
Setting up new Django project and connecting it to MySQL
We will setup new Django project. For that, let's move inside /django/src directory and run the below command:
cd /django/src
(venv)$
django-admin startproject test_project .
We created new project named test_project. Pay attention to the . at the end of command. It means we want to create project directly inside current directory, which in this case is src. If we don't specify that . then django-admin command will create project in a saprate directory. So just to keep things simple, we don't want to add more unnecessary directories in the structure.
Now It's time to create MySQL database and connect it with our django project. Run below
commands to create database and user. You can use sudo mysql if you are not root. We will assign some permissions on that database:
mysql
mysql>
CREATE DATABASE test_db;
mysql>
CREATE USER 'test_user'@'localhost' IDENTIFIED BY 'password';
mysql>
GRANT ALL PRIVILEGES ON test_db.* TO 'test_user'@'localhost';
mysql>
FLUSH PRIVILEGES;
After this process, we successfully created a MySQL database test_db, user test_user with password password, and granted appropriate permissions to the user over that database.
We need to connect this database with our django project. To do that, move into /django/src/test_project directory and open settings.py file in any text editor and do the following changes. I'm using nano for this tutorial.
Enter these values carefully as they are crucial for connecting mysql with django. In ALLOWED_HOSTS block, enter your Ubuntu server's public ip-address.
nano /django/src/test_project/settings.py
# Replace the existing DATABASE block with this one
ALLOWED_HOSTS = ['66.55.44.33']
DATABASES = {
    'default': {
        'ENGINE': 'django.db.backends.mysql',
        'NAME': 'test_db',
        'USER': 'test_user',
        'PASSWORD': 'password',
        'HOST': 'localhost',
        'PORT': '3306',
    }
}
After defining database details, scroll down to the static files section where we need to provide path of our static and media files. Use below lines:
STATIC_URL = '/static/'
STATIC_ROOT = '/django/files/public/static'
MEDIA_ROOT = '/django/files/public/media'
MEDIA_URL = '/media/'
Now save and close the file. To test our Django application, use below command in /django/src directory to start django server:
python manage.py makemigrations
(venv)$
python manage.py migrate
(venv)$
python manage.py runserver 0.0.0.0:8000
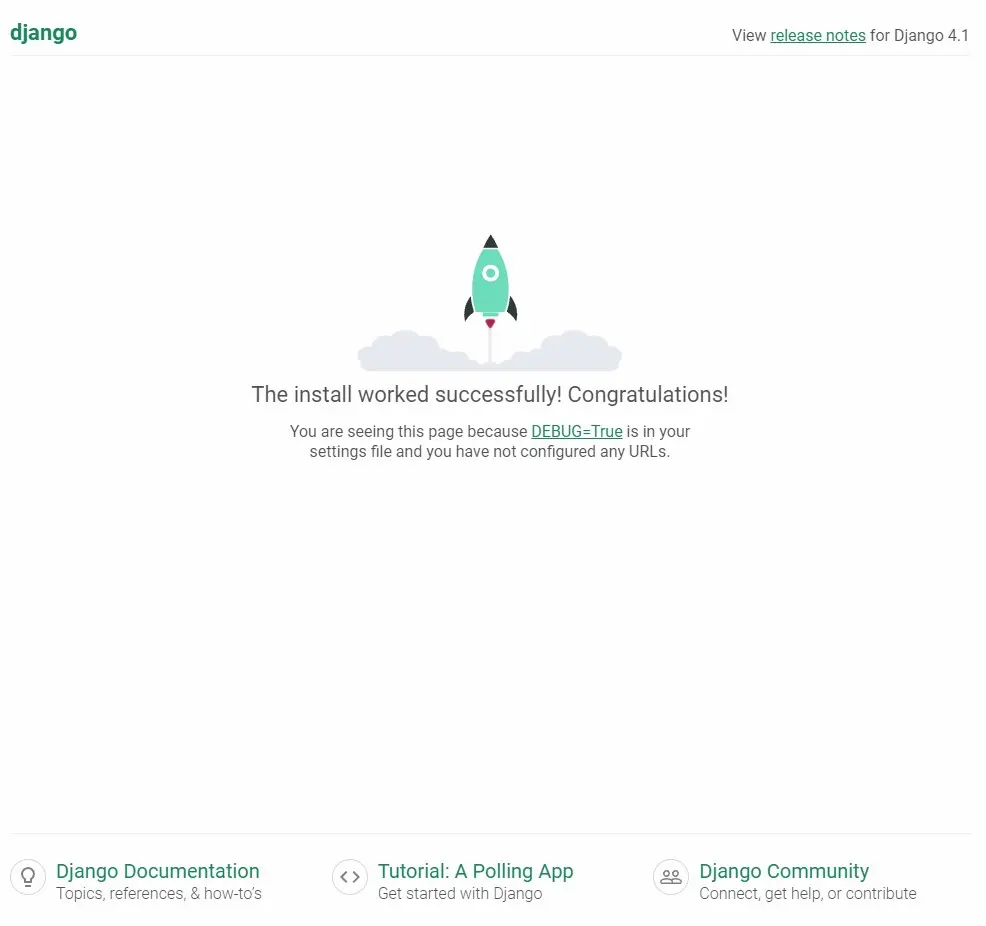
If everything is configured correctly, you will see message Starting development server at http://0.0.0.0:8000/. It means your server is up and running. Go to your browser and use your public ip-address that you entered in ALLOWED_HOSTS earlier with port 8000. In my case, I can access my server from 66.55.44.33:8000. if you get the welcome screen message like this image below means everything works as expected.
Now our django website is successfully connected with MySQL database. You can deactivate the virtual environment using deactivate command. Next part is to use Apache webserver as frontend to server our web application to users. We have already installed required packages for Apache to run with Django. Next section is about creating virtual host configuration files for our Python Django Application.
Configuring Apache webserver with Django
In these steps we will see how we can use Apache web server to serve our Django application using WSGi module. As I'm demonstrating this project on Ubuntu, therefore server configuration files that we need to create, can be located at /etc/apache2/sites-available directory. Go to this directory and follow the commands below:
mv /etc/apache2/sites-available/000-default.conf /etc/apache2/sites-available/000-default.conf-backup
$
nano /etc/apache2/sites-available/test_project.conf
<VirtualHost *:80>
    ServerName domain.com
    ServerAlias www.domain.com

    Alias /static /django/files/public/static
    <Directory /django/files/public/static>
            Require all granted
    </Directory>

    Alias /media /django/files/public/media
    <Directory /django/files/public/media>
        Require all granted
    </Directory>

    <Directory /django/src/test_project>
        <Files wsgi.py>
            Require all granted
        </Files>
    </Directory>

    WSGIDaemonProcess test_project python-home=/django/venv python-path=/django/src
    WSGIProcessGroup test_project
    WSGIScriptAlias / /django/src/test_project/wsgi.py

    ErrorLog /django/data/log/error.log
    CustomLog /django/data/log/access.log combine
</VirtualHost>
Write your domain name in ServerName and ServerAlias. If you are using the same directory structure as i demonstrated in this project, you don't have to change anything else. But if you changed the structure, then you have to updated the paths here.
Save the file and run a2ensite test_project.conf command to
activate that virtual host that we just created for our django website. If there is no output in the terminal, It means the configuration is enabled successfully. Reload the Apache webserver using systemctl reload apache2 command to complete the process.
Now our Django website is up and running with Apache acting as the front end and interacting with Django using WSGi module. You can confirm it by opening the web browser and go to your public ip-address.
Common Django errors in deployment
Numpy sub-interpreters error. This method is somewhat necessary if using numpy in Django using Apache and WSGI server.
When trying to shift my Django project from local environment to a production environment, using Apache web server with mod-wsgi, I got this error:
Truncated or oversized response headers received from daemon process 'django_process':
/django/project/data/wsgi.py
/django/venv/lib/python3.10/site-packages/imageio/core/util.py:10: UserWarning: NumPy was imported from a Python
sub-interpreter but NumPy does not properly support sub-interpreters. This will likely work for most users but might
cause hard to track down issues or subtle bugs. A common use of the rare sub-interpreter feature is wsgi which also
allows single-interpreter mode.
Improvements in the case of bugs are welcome, but is not on the NumPy roadmap, and full support may require
significant effort to achieve.
import numpy as np
Solution: 1
When using Apache with a WSGI server, mod-wsgi act as an interface between Apache web server and Python application. mod-wsgi uses multiple sub-interpreters to handle requests and numpy does not fully support sub-interpreters, which can cause issues when running under a WSGI server.
To fix this issue, add the following line in /etc/apache2/apache2.conf file:
WSGIApplicationGroup %{GLOBAL}
Make sure to restart the server using sudo systemctl restart apache2 command. This directive will instruct WSGI server to run the application on main interpreter instead of sub-interpreter.
However, most of the time it does not impact system performance, but it may limit the ability to handle multiple requests at the same time.
Another way to solve the problem is to specify the process and application group in website configuration file. Open your website configuration file from /etc/apache2/sites-available and add the following line:
WSGIProcessGroup test_project
WSGIScriptAlias / /path/to/file/wsgi.py process-group=test_project application-group=%{GLOBAL}
Change WSGIProcessGroup value as you like but also mention that value in process-group under WSGIScriptAlias. By specifying these attributes, the server will use this process and application group to run WSGI application.